The first thing that I needed to do was to prep my gun to make the mold. Since I was doing the fold method I needed to maintain the front site post down the length of the gun. To do this I used a wooden dowel that I had laying around and taped it to the top of the gun.
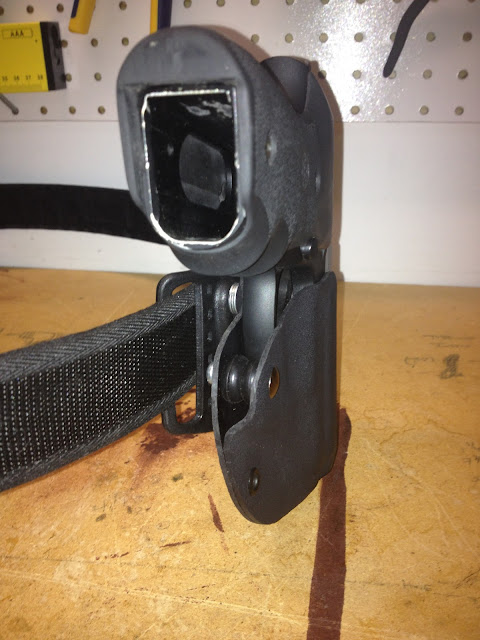
Next I had to figure out how I was going to attach the holster on my gun belt. I decided to take the belt clip off of my BlackHawk holster. Since I was going to use this belt attachment I had to figure out how I was going to attach the holster to the clip. I needed to figure out some way to indent the attachment point inside the holster in order to not scratch the gun. I found some furniture leveling sticky pads that I thought would work. I cut them into circles and stuck them to the side of the gun in the same pattern as the belt clip.
I was now making some progress. I also wanted to put a tension screw behind the trigger guard. In order to do this I need to create a block out so that when I molded the kydex I would have a void in this location. I took some wood scraps from the garage and created the shape that I needed and attached it to the bottom of the trigger guard.
Now I had everything ready to start the molding process. I cut out a piece of kydex big enough to fold over my gun. I preheated the oven to 350 degrees and put the piece of kydex on a cooking sheet (don't tell my wife) for about 5 mins. Quickly moving it to the press I folded it over the gun and set it in the press. Once I took it out of the press I had a perfect mold of my gun.
Notice the 3 protruding circles in the picture on the left. This will be were I would attach the belt clip. Those little furniture stickies worked great. You can also see the block out below the trigger guard where the tension screw will be.
Now that the mold was done it was time to start cutting the kydex into the shape that I wanted. I knew that I wanted to leave the backside of the holster tall, so it rest against my side.
Once I had the general shape that I wanted I needed to check the fit to make the final adjustments.
Now I had to drill the holes to attach the belt clip. I needed to lay the belt clip out on the back side of the holster to make sure that the holes in the correction location in order to fit properly. Once the holes were drilled I attached the belt clip and noticed that I needed to add a couple of washers to the back side of the holster to get it to sit right on my hip.
Next I needed to add a rivet to the bottom left of the holster to keep it the kydex from separating.
The only thing left to do now was to install the tension screw at the bottom of the trigger guard and tighten it up.
So it is all finished up now and it works great. I can't wait to take it to the range and test it out.


No comments:
Post a Comment